Trail Cameras for Bird Photography: How to Scout, Capture, and Learn About Local Birds
This post contains affiliate links. If you use these links to buy something, we may earn a commission at no additional cost to you. We only recommend products we fully support or use ourselves. Our full disclaimer
PIN THIS FOR LATER
If you’re looking to level up your bird photography game and capture those secretive, ground-skulking, or camera-shy species, trail cameras might just be your new favorite tool. Whether you’re scouting for a new blind location or hoping to document bird behavior without your presence disturbing the scene, this guide will walk you through why trail cameras belong in every bird photographer’s toolkit.
We’ll cover the benefits of using trail cameras for birdwatching and photography, and recommend features to look for when choosing one. From capturing elusive species to monitoring nest sites and prepping for photo sessions, these devices do more than just catch the neighborhood raccoon in the act—they can help you photograph the birds you’ve only ever heard but never seen.
Why Use a Trail Camera for Bird Photography?
1. Capturing Elusive and Ground-Dwelling Birds
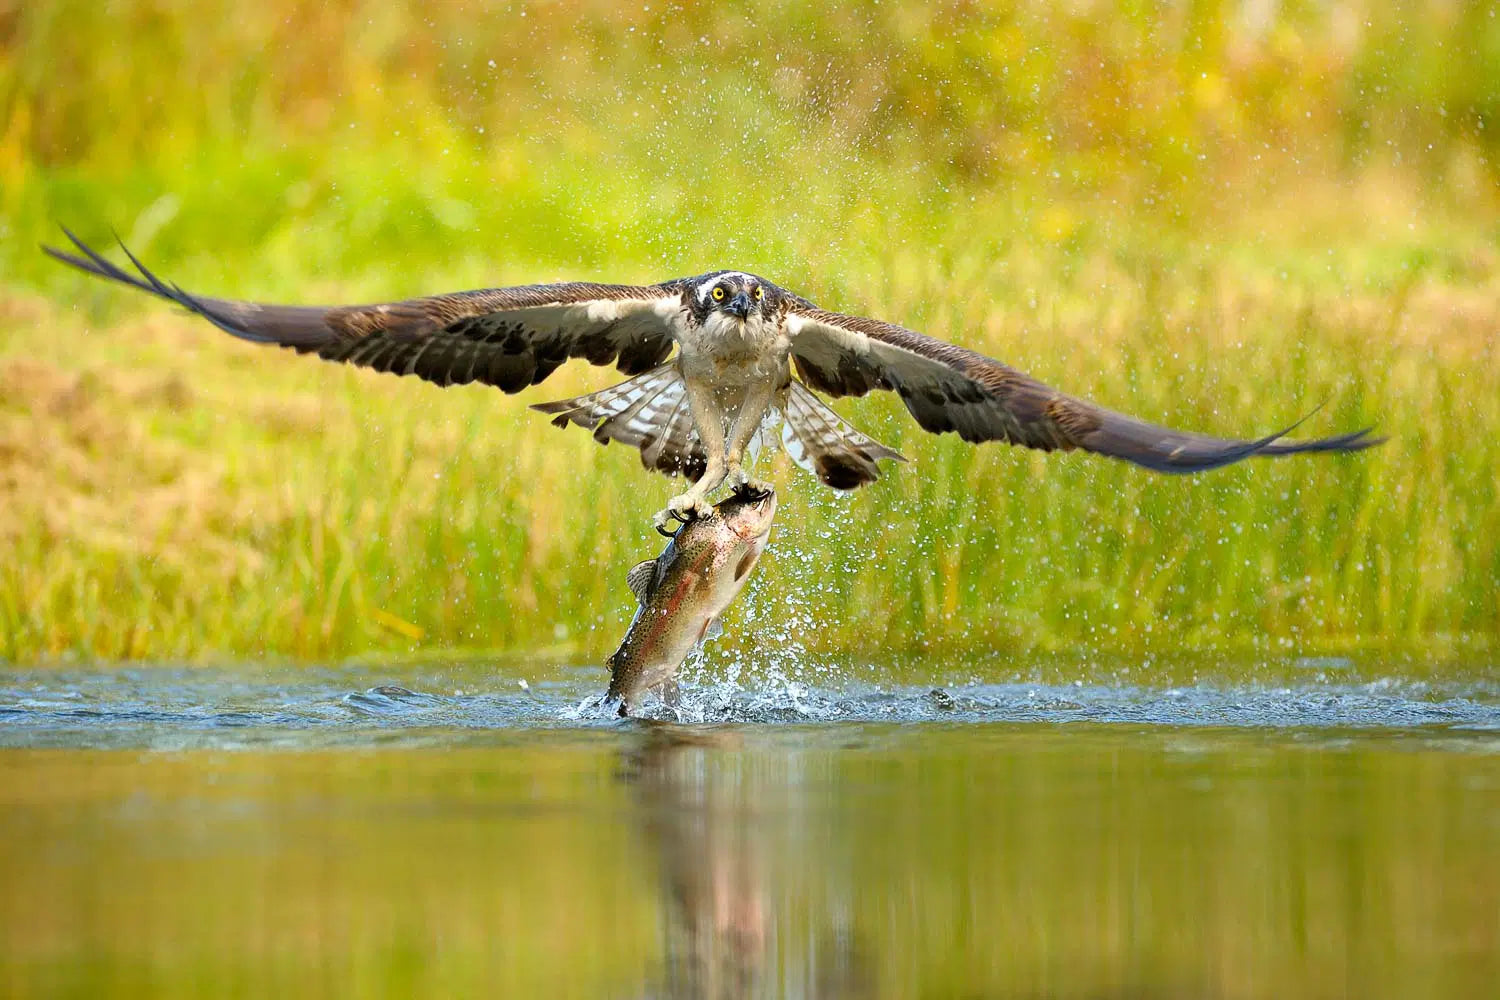
Trail cameras are ideal for photographing birds that are secretive, shy, or active during dawn, dusk, or nighttime hours. Think rails, nightjars, woodcock, or quail. With built-in motion sensors and infrared night vision, these cameras let you monitor forest floors, dense thickets, or wetland edges without ever setting off an alarm call.
You’ll be surprised by what shows up on camera—sometimes even species you didn’t know were present.
2. Minimizing Human Disturbance
Most birds—especially ground or understory species—aren’t big fans of humans barging into their favorite haunts. Trail cameras let you scout, observe, and document activity without being there, so you’re not altering bird behavior just by showing up. This means more natural footage and fewer missed opportunities.
3. Monitoring Remote or Brushy Bird Habitats
Some bird hotspots are just plain hard to access (hi, tangled swamp thickets). Trail cameras can be left in place for weeks, quietly recording what flits or forages past. Cellular models even send images in real time, so you can get updates without trekking in daily.
This is especially handy for documenting:
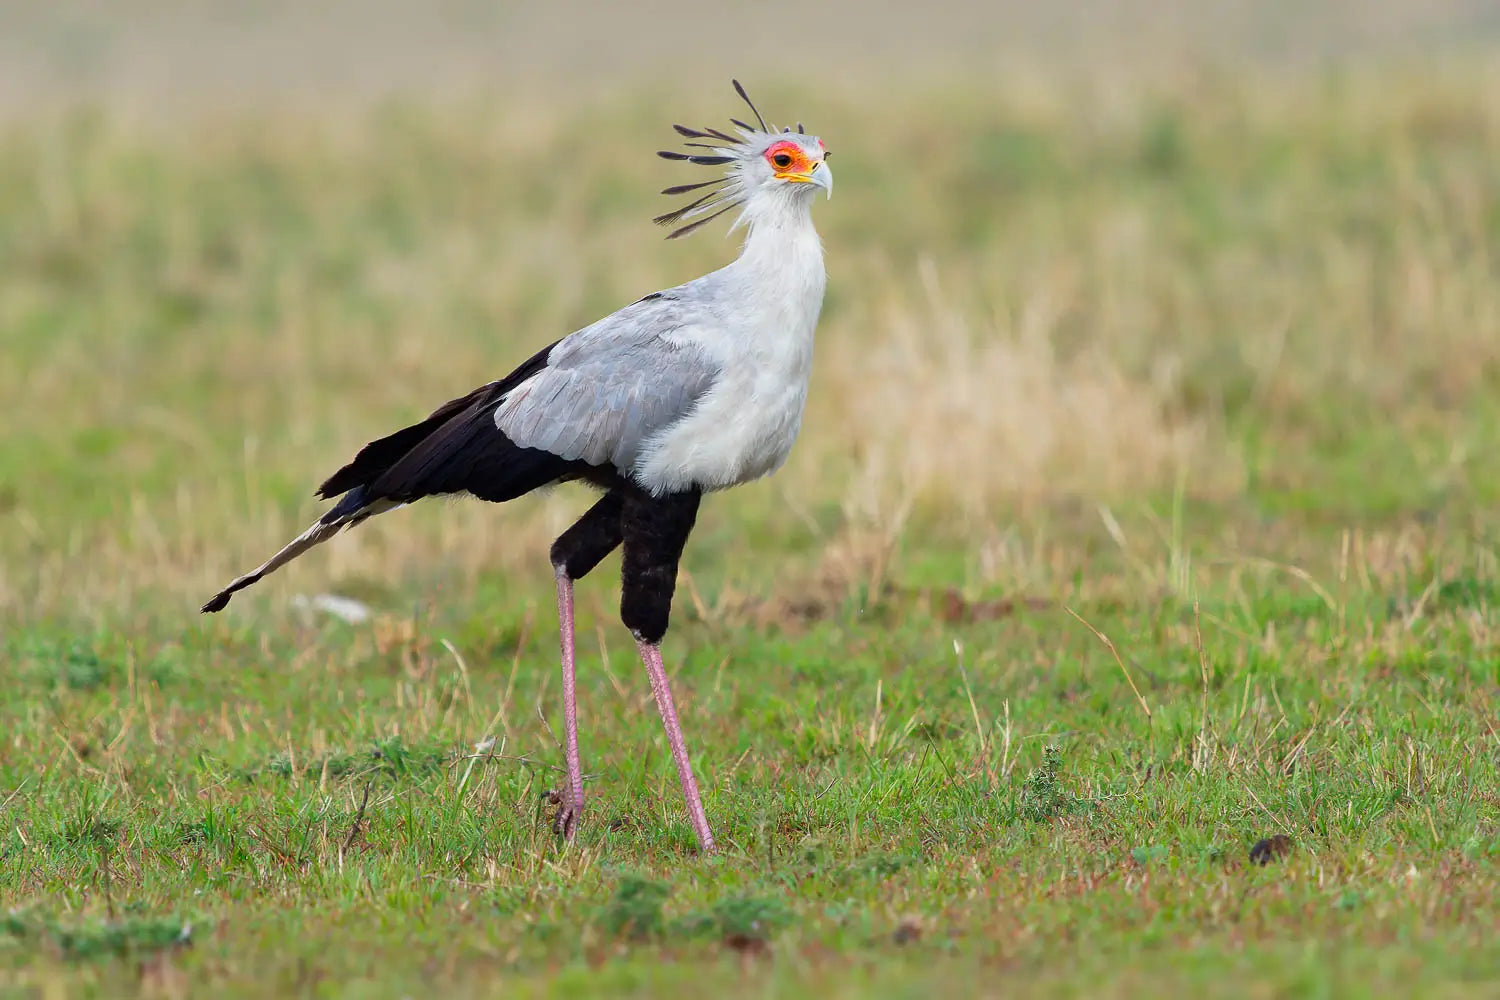
- Forest-floor foragers like thrushes and towhees
- Shrub-loving skulkers like wrens and chats
- Elusive marsh birds like bitterns and rails
4. Scouting Bird Activity and Planning Your Blind Setup
Want to set up a photo blind? Trail cameras are your silent scouts. By reviewing when and where birds are most active, you can choose the best time of day and exact location to hunker down with your big lens.
Bonus: Fast trigger speeds mean your trail cam can capture behavior, not just bird-shaped blurs—perfect for learning flight paths or feeding patterns before you go in.
5. Documenting Rare or Hidden Behaviors
Want to see what that wren does when no one’s around? Or catch a ground-nesting bird changing shifts with its mate? Trail cameras offer a no-intrusion way to document nesting, feeding, bathing, and even courtship—all without you hovering nearby. The best part? They keep rolling when you’re asleep.
6. Doubling Your Photo Coverage
Trail cameras let you be in two places at once. While you’re in the blind photographing a kingfisher, your trail cam could be recording a woodcock strutting down a nearby path. Set one up near a favorite perch, water source, or brush pile and let it collect footage while you focus elsewhere.
7. Learning Bird Behavior (a Birder’s Secret Weapon)
Trail cameras don’t just give you cool shots—they help you learn. Watching hours of footage reveals patterns: which species prefer certain times of day, how birds use light and cover, or which direction they enter and leave a location. All of this helps you become a better bird photographer and a savvier birder.
8. Safety and Convenience (Especially in Dense or Difficult Terrain)
Bird habitats aren’t always people-friendly. Steep ravines, muddy banks, and dense thickets can make hanging out impractical. Trail cameras let you place your eyes (and lens) exactly where birds go—even when it’s a nightmare to get there yourself.
9. A Budget-Friendly Photo Upgrade
Compared to DSLR or mirrorless camera traps, trail cameras are often a fraction of the cost. If you want to experiment with passive bird photography—or capture bonus footage while focusing elsewhere—they’re a smart, affordable investment.
10. Supporting Bird Conservation and Research
Your footage can do more than land you likes on Instagram. Trail camera photos of uncommon species, early arrivals, or nesting activity can support local monitoring efforts. Many birders and photographers contribute trail cam findings to citizen science platforms or help researchers study habitat use and behavior.
In Our Shop


5 Tips for Using Trail Cameras in Bird Photography
1. Reduce Your Scent Footprint
Even birds can be sensitive to human presence. Rub your trail camera with local vegetation or soil before placing it. Use scent-reducing sprays if you have them. Less scent = less suspicion = better footage.
2. Place Cameras at Different Heights for Layered Bird Activity
Don’t just aim low—though that’s perfect for ground birds like thrushes, quail, and juncos. Set another trail cam chest-high for shrub-dwellers like catbirds and warblers. The understory is layered, and your coverage should be too.
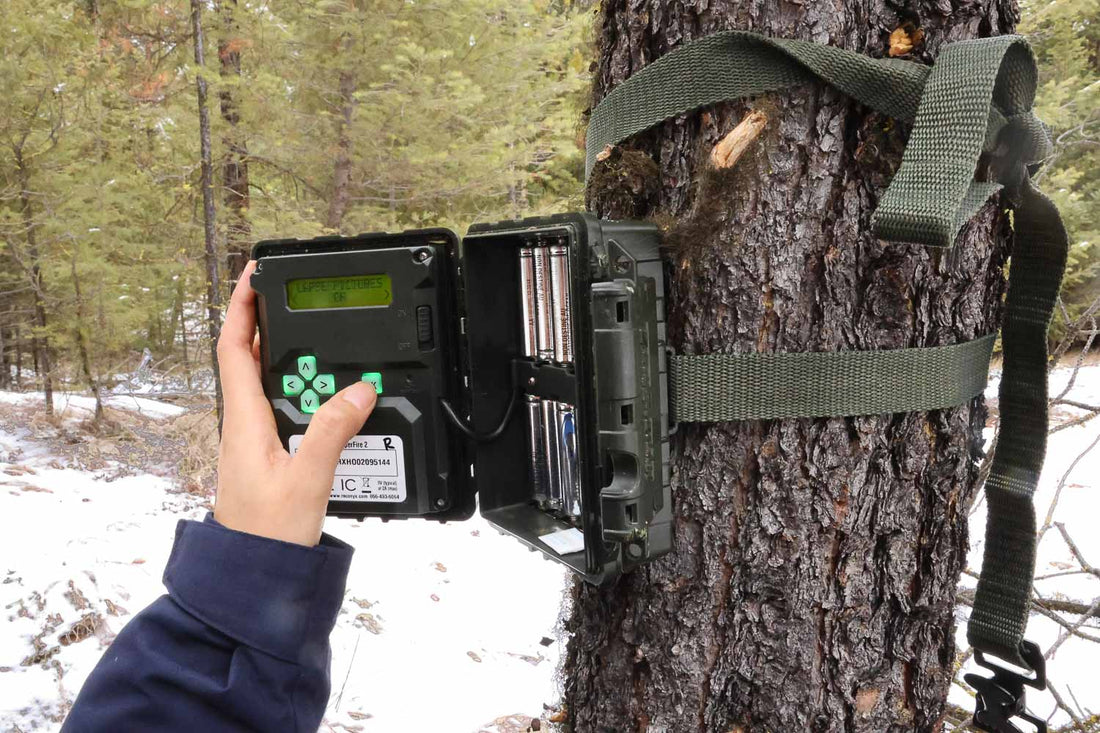
3. Use Natural Markers to Relocate Your Gear
Camouflaging a trail cam is smart—until you can’t find it. Add a strip of orange tape behind the camera or on a nearby rock/tree so you can retrieve it without crashing through brush like a bear.
4. Use Delayed Start Settings
Birds can be skittish after a person passes through. If your camera allows, set a delayed start so it begins recording 24–48 hours after setup. This gives birds time to return to normal behavior before the camera starts rolling.
5. Take Advantage of Natural Bird Funnels
Place your trail cam where birds are funneled naturally:
- Gaps in thick shrubs
- Narrow trails
- Stream crossings
- Open patches in dense forest
These pinch points make it more likely birds will cross in view, and they’re perfect scouting spots for eventual blind setups.
Bonus Tip: Rotate Your Trail Camera Locations
Birds learn. If a trail camera starts clicking or flashing unexpectedly, some may avoid the area. Moving your cam every few weeks gives you fresh data and prevents local birds from developing camera shyness.
Using trail cameras for bird photography isn’t just a fun side project—it’s a smart, practical way to understand bird behavior, scout your next photo shoot, and document moments that would otherwise be impossible to see. Whether you’re photographing secretive understory birds, planning a hide near a water feature, or just curious what hops around your yard after dark, trail cameras bring you into the hidden side of birdlife.
Want to go deeper? Check out our guides on how to aim a trail camera, the best trail cams for birders, and how to use DSLR and mirrorless cameras as advanced camera traps.
Let the birds do their thing—you’ll catch it all.