The Best Camera Settings for Bird Photography: A Complete Guide to Sharper, Smarter Shots

This post contains affiliate links. If you use these links to buy something, we may earn a commission at no additional cost to you. We only recommend products we fully support or use ourselves. Our full disclaimer
PIN THIS FOR LATER

Ready to capture stunning bird photos? This guide on the best camera settings for bird photography will help you master your camera and never miss that perfect wingbeat.
Bird photography isn’t just about having a good eye—it’s about knowing how to set your camera to handle the unpredictable, fast-paced, and sometimes low-light environments where birds live. From dense forests to open marshes, bird habitats demand smart, flexible settings to get sharp, well-exposed, detail-rich images of your avian subjects.
This guide will give you the tools to adjust on the fly, understand what settings work best for perched birds versus birds in flight, and avoid common mistakes that cost you that one-in-a-million shot.
Basic Camera Settings for Bird Photography
Shooting Modes
For most bird photography scenarios, Aperture Priority Mode (Av/A) is your best friend. It allows you to control the depth of field—key for isolating a bird from a messy background. When light gets tricky, or when you want full control (say, for birds in extreme contrast), switch to Manual Mode (M) to dial in your exposure exactly.
ISO Settings
Use Auto ISO with a maximum limit (like 1600–3200) so your camera can adjust to light fluctuations while keeping noise manageable. If you're photographing at dawn, dusk, or deep in a shady grove, don’t be afraid to bump your ISO manually to maintain shutter speed.
Aperture Settings
Wide apertures (f/2.8 – f/5.6) are ideal for bird photography—they help isolate your subject with buttery bokeh and allow faster shutter speeds. Use narrower apertures (f/8 – f/11) when photographing multiple birds or when you want more detail across the whole frame, like in flocks or birdscapes.
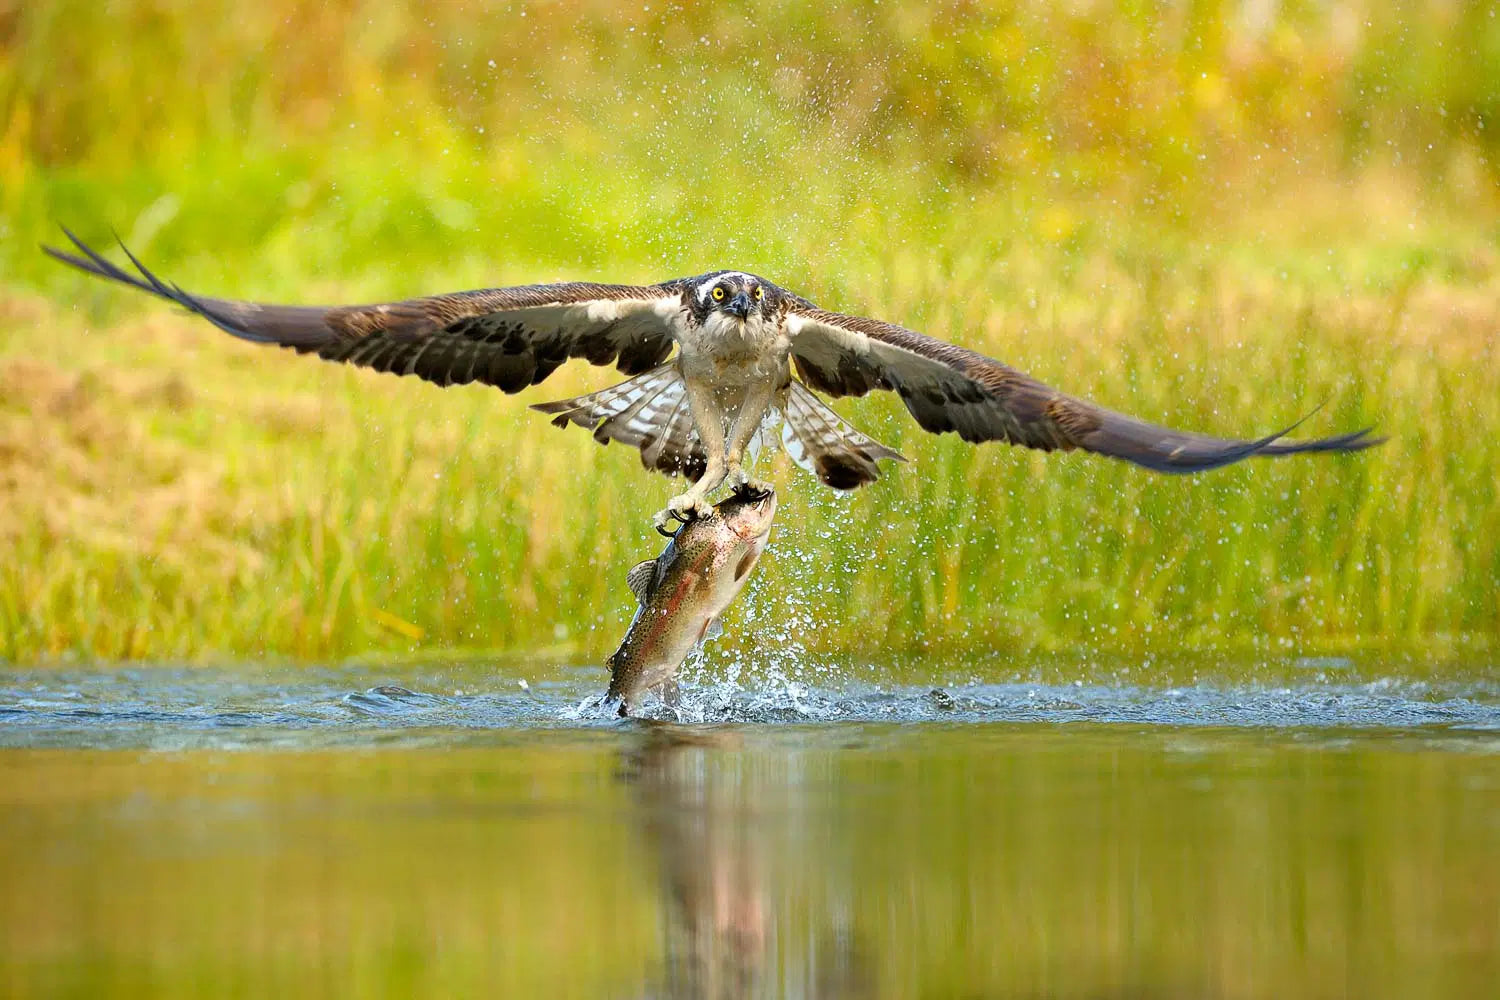
Shutter Speed
Fast shutter speeds are critical for birds in motion. Use:
- 1/1000s or faster for perched birds that might twitch or flinch
- 1/1600–1/4000s for birds in flight, flapping or diving
- Slower speeds for creative motion blur or panning shots of flyers
Always match your shutter speed to your focal length to avoid camera shake (e.g., 1/500s for a 500mm lens minimum).

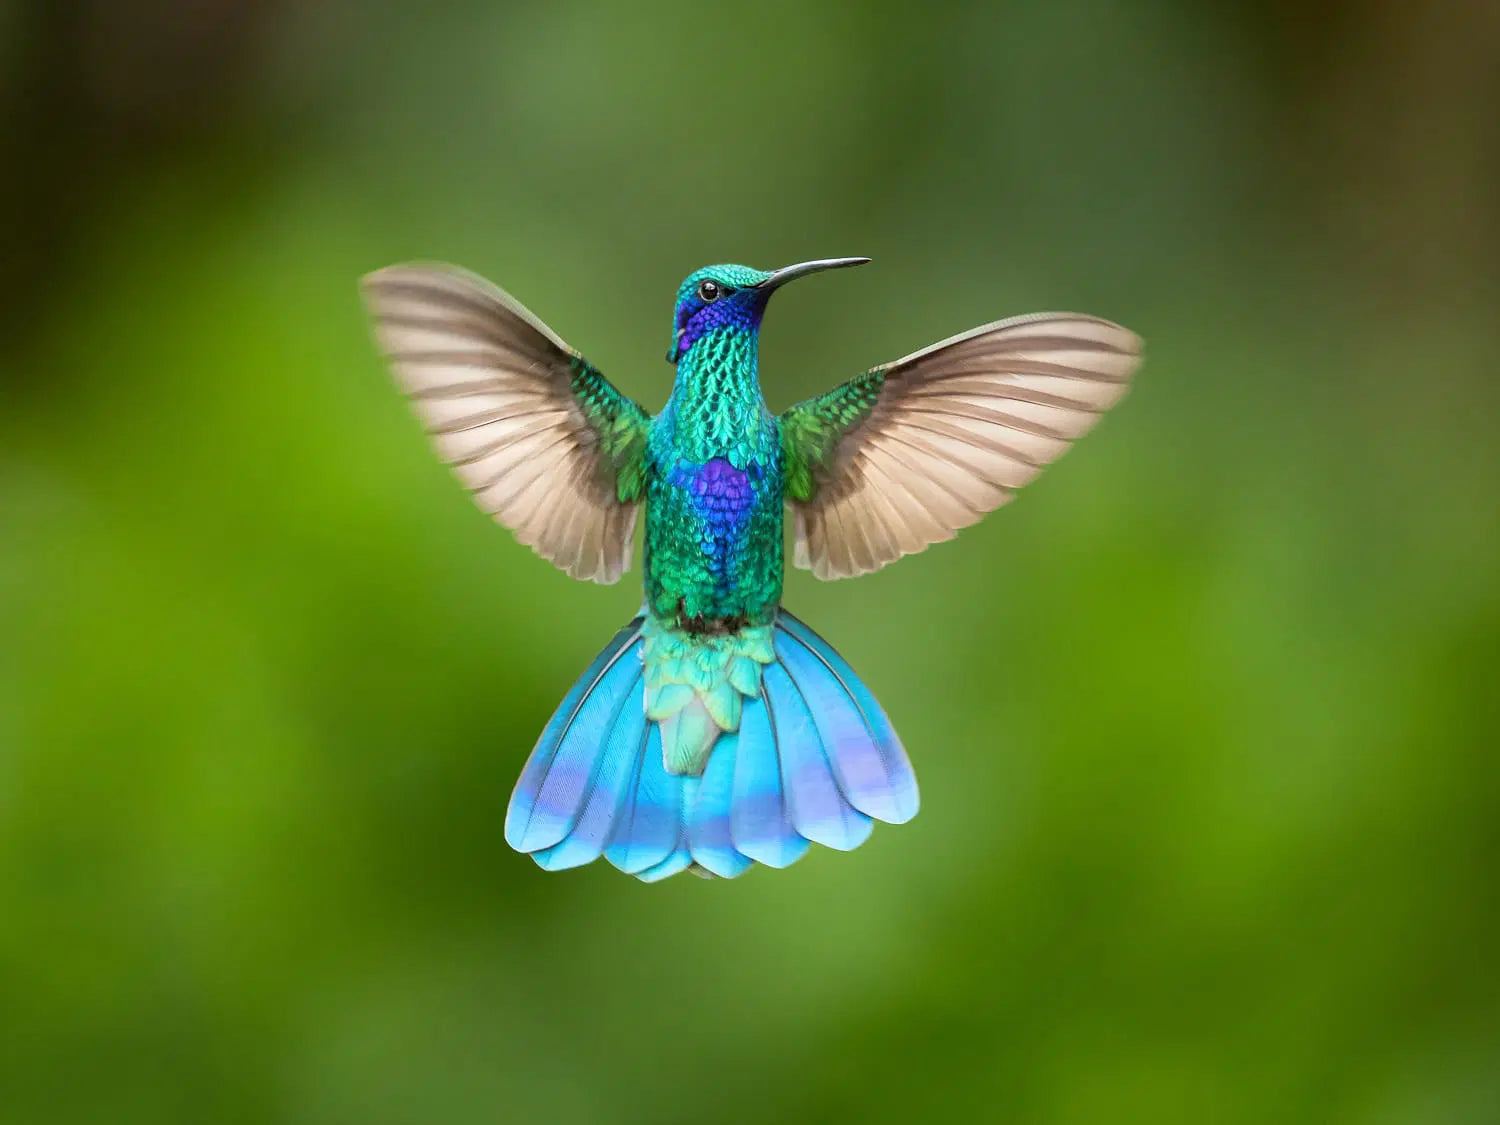
Autofocus Settings for Birds
Birds move fast and unpredictably—your autofocus needs to keep up.
AF Modes
Use Continuous AF (AI Servo/AF-C) to track moving birds in flight or on the move. It continuously adjusts focus as your subject moves—perfect for birds that don’t sit still (i.e., all of them).
AF Points
- Single-point AF for precise focus on perched birds (especially when surrounded by leaves or branches).
- Dynamic area or zone AF for tracking birds in flight or quick movers in open fields.
Back Button Focus
Separating your focus from your shutter with back button focus gives you more control. Lock focus on a bird and fire when you're ready—without the camera trying to refocus every time you press the shutter.
Drive Mode
Continuous Shooting
Birds do amazing things in fractions of a second—burst mode is how you catch those moments. Use high-speed continuous shooting to rattle off frames as a bird flaps, flips, or flutters.
Silent Shutter Mode
Birds spook easily. A silent or electronic shutter mode helps you get closer without drawing attention—especially great for forest birds or shy species.
Exposure Settings
Exposure Compensation
Use exposure compensation to fine-tune your shot when working in tricky light—like a white egret against dark water or a bird backlit by sunset. Small tweaks (+/- 1 or 2 stops) help avoid blown-out feathers or underexposed shadows.
Highlight Alert
Turn on highlight alert (a.k.a. blinkies) to see if any part of your image is overexposed. Especially useful with white birds or midday sun, when detail can easily disappear in the highlights.
White Balance
Use Auto White Balance (AWB) for most bird photography—it’s smart enough to adjust to changing light. But for consistent colors (especially in batch edits), you can set Kelvin temperature or use custom white balance presets based on conditions (shade, cloudy, etc.).
Image Quality Settings
RAW Format
Always shoot in RAW. Birds are notoriously hard to expose correctly—RAW gives you maximum flexibility to recover detail, adjust white balance, and fine-tune contrast in post-processing.
High Resolution
Use the highest resolution your camera offers. Birds are detailed creatures—plumage, eyes, feet—and high-res files let you crop without losing quality.
Lens Settings
Image Stabilization (IS/VR)
Turn on image stabilization when shooting handheld, especially with long lenses. Turn it off when using a tripod or doing smooth panning—it can fight you instead of helping.
Focus Limiter
Many birding lenses have a focus limiter switch. If you’re shooting distant birds, limit the focus range to speed up autofocus and avoid unnecessary hunting.

Advanced Settings for Bird Photography
Noise Reduction
Use high ISO noise reduction for low-light or high-ISO bird photos. It helps maintain clarity, but keep it subtle—overdoing it can make birds look plasticky.
Lens Aberration Correction
Turn on chromatic aberration and distortion correction to clean up edge artifacts and color fringing, especially helpful with high-contrast plumage (black-and-white birds, we’re looking at you).
Auto ISO Minimum Shutter Speed
If your camera allows, set a minimum shutter speed in Auto ISO mode. This ensures you don’t dip into motion blur territory when shooting small, twitchy birds.
Custom Modes (C1, C2)
Program your custom modes for different shooting scenarios—perched birds vs. birds in flight, for example. One button flip = faster reaction time in the field.
Electronic First Curtain Shutter
Use electronic first curtain shutter to reduce internal vibrations—especially helpful with long telephoto lenses and lower shutter speeds.
Other Useful Tools and Settings
Grid Display
Use a grid overlay to compose bird images with strong framing—like positioning an eye on a rule-of-thirds intersection.
Histogram
Check the histogram after each shot. Don’t rely on the LCD—it lies. Use the histogram to make sure your exposure is well balanced, especially with bright or dark backgrounds.
Highlight Tone Priority
Enable highlight tone priority to retain detail in bright plumage and skies without sacrificing midtones—great for white birds and snowy backgrounds.
Final Thoughts: Get Sharp, Get Fast, Get Feathery
The right camera settings are the secret sauce behind every jaw-dropping bird image. With this guide, you’ve got the tools to adapt to any bird, any light, and any flight path.
Remember: no setting is set in stone. Bird photography is about adapting, experimenting, and having a fast enough shutter to catch the moment before it flaps away.
Keep practicing, keep tweaking—and don’t forget to enjoy the view through your lens. The birds are out there waiting.